Exporting Data
Export data from tables into Excel spreadsheets.
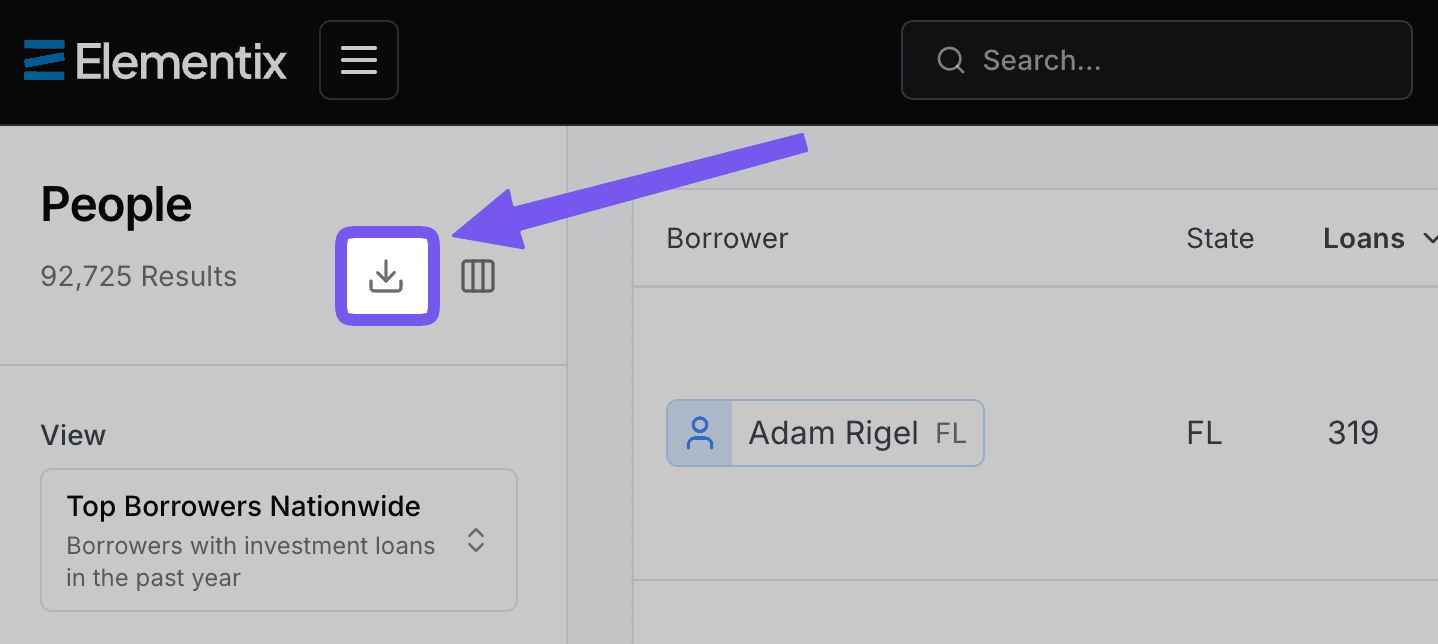
Step 1: Click the export button
Click the Export button on the page sidebar to begin the export process. Exports are available on most tables.
Step 2: Configure export options
You can define the data you need with the options in the popup window.
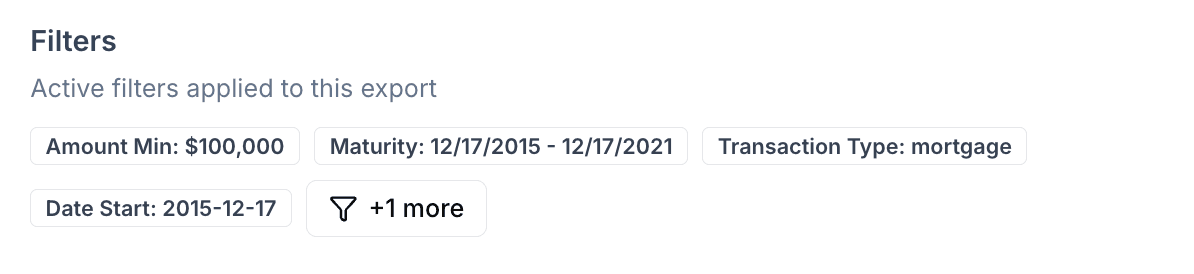
Filters
The filters you have set on the page are used for the export. You can see a preview of the selected filters in this section.
Columns
Select the columns you would like to export in the Excel file. We recommend you include the Elementix Link column. This will allow you to easily open the record from your CRM or spreadsheet.

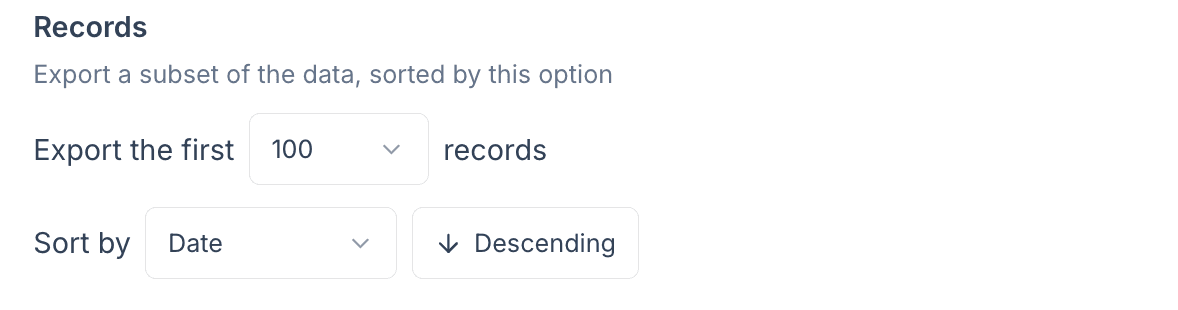
Records
Enter a specific number of records you would like to export. The maximum export size is 10,000 records.
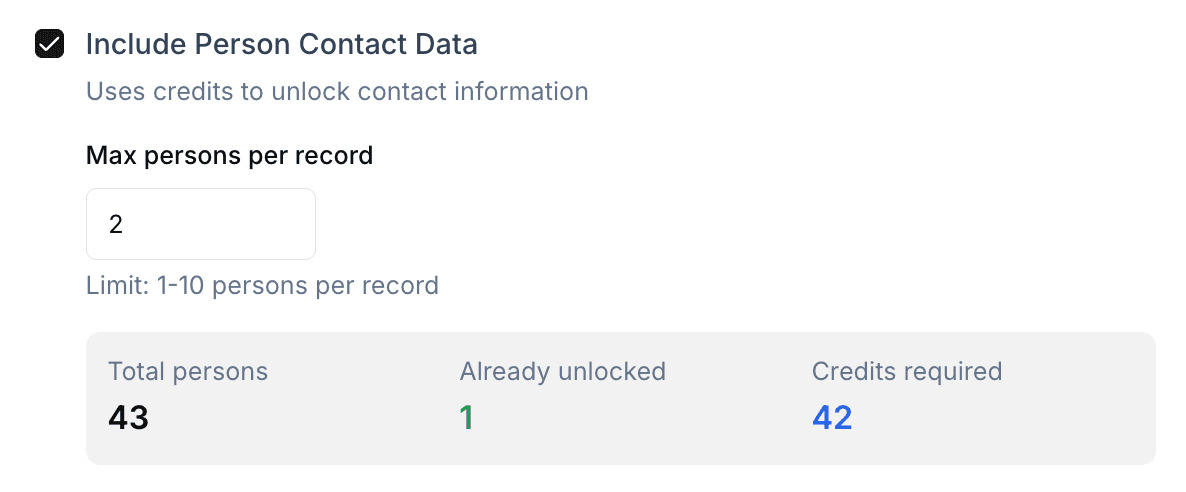
Include Person Contact Data
Select the Include Person Contact Data checkbox if you want to unlock and export the associated contact information for each record.
Max persons per record: Enter the number of persons to include when a record has multiple people linked to it. This option only appears when exporting transaction records because they can have multiple people associated with them.
You can view a breakdown of the number of contacts with information Already unlocked as well as the amount of Contact unlocks required.
- If you do not select the Include Person Contact Data checkbox, contact unlocks are not used for the data export.
- To learn more about contact unlock usage and allowances, see the contact unlock usage guide.
Step 3: Create and download
Click the Create Export button to generate your Excel file.
Once you click the Create Export button you cannot cancel the process. The export will continue in the background until completion. Large exports with contact data can take over one hour to complete.
Once the export is completed, click the Download button on the Bulk Exports page.
Past exports
You can view and re-download all previously created exports on the Bulk Exports page.